Transform your windows with a modern, seamless finish using the Home Curtains Extendable Ceiling-Mount Curtain Track, purpose-built for S-Fold and Wave-Fold curtains. This guide covers tools, measurements, bracket spacing, and stacking options — so you can achieve a professional, clean look at home.
Quick Summary
Install and adjust an extendable ceiling-mount S-Fold/Wave-Fold track without cutting. Learn the tools, measurements, 30–40 cm bracket spacing, and stacking setups (single or dual panel). Perfect for Australian homes wanting smooth, quiet, durable operation.
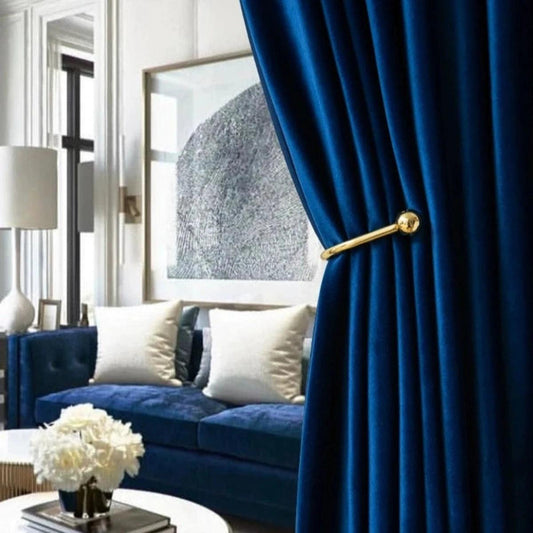
Why Choose an Extendable Ceiling-Mount S-Fold Track?
- No cutting required — simply extend the track to fit your space.
- Silent, smooth gliding — engineered carriers for effortless motion.
- Premium aluminium finish — rust-resistant and built to last.
- Flush ceiling-mount design — for a seamless architectural aesthetic.
- Compatible with S-Fold or Wave-Fold curtains (not pinch-pleat or traditional hooks).
What’s Included
- 1× Extendable Aluminium Curtain Track (your chosen size range)
- Pre-installed S-Fold / Wave-Fold Gliders
- Matching Ceiling-Mount Brackets (Type A & B)
- Matching Hooks and Compatible Curtain Back Tape
Note: Screws and wall plugs are not included. Choose fixings suitable for your ceiling type.
Tools You’ll Need
- Tape measure, pencil & ruler
- Drill with suitable bits
- Plasterboard anchors (recommended for plaster or blockout setups)
- Wall plugs (for masonry ceilings)
- Screwdriver, spirit level, ladder
- Optional: stud finder
Step-by-Step Installation
Step 1 — Measure & Mark
- Mount the track flush to the ceiling, just in front of your window or door frame.
- Leave approximately 5 cm from the window frame to the bracket screw line for free movement.
- Extend at least 10 cm beyond each side of the frame for dual panels, or ≥ 20 cm on one side for single stacking.
- Mark bracket spacing every 30–40 cm, keeping end brackets 5–10 cm from each end.
Step 2 — Install the Brackets
- Drill pilot holes at marked positions.
- Insert plasterboard anchors or wall plugs as appropriate.
- Secure brackets tightly and check alignment.
- Verify level before fixing the track.
Step 3 — Adjust & Mount the Track
- Extend the aluminium rail to the required width (e.g. 274–298 cm).
- Attach securely to mounted brackets; ensure level and stability.
- Confirm gliders move freely from end to end.
Step 4 — Hang the Curtains
- Insert hooks into heading tape every 10–12 cm.
- Attach each hook to a glider carrier.
- Use an even number of gliders for balanced S-fold waves.
- Alternate folds (front/back) evenly.
Step 5 — Finishing Touches
- Shape each wave by hand from top to bottom.
- Tie folds loosely for 24 hours to help them set.
- Test glide — smooth and quiet operation should result.
Maintenance & Care
- Dust or vacuum occasionally.
- Keep gliders clean and debris-free.
- Tighten any loose screws periodically.
- Wipe with a damp cloth; avoid harsh cleaners.
Stacking Configuration Options
Single Panel — Stack to the Right
- Open the left end cap to release the cord.
- Adjust the right side and leave ≥ 20 cm space for stacking.
- Reinstall end cap securely.
Single Panel — Stack to the Left
- Open the right end cap and adjust the left side, leaving ≥ 20 cm clearance.
- Reinstall end cap after confirming smooth glide.
Dual Panel — Centre Opening
- Extend the track evenly on both sides — ≥ 10 cm per side.
- Cut the centre cord to create two independent sliding panels.
- Ensure both sides glide freely before hanging curtains.
Helpful Notes
- Remove end caps before adjustments; reinstall securely afterward.
- No cutting required for extendable tracks.
- Allow a minimum 20 cm stacking space for single panels and ≥ 10 cm per side for centre openings.
- Maintain even glider counts per panel — an extra glider can be used to attach a curtain wand.